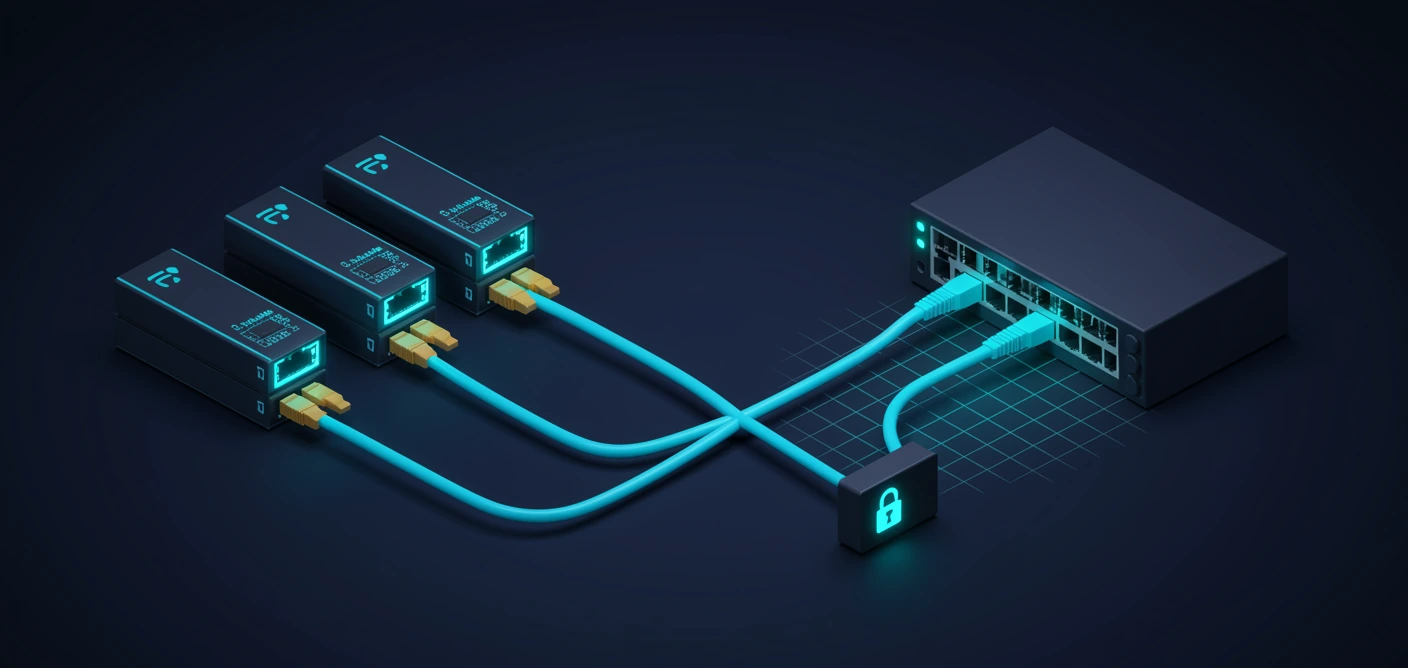
NIC Teaming: Bonding Physical Adapters
NIC TeamingCTS1328C · AZ-800
3 NICs → 1 logical team. Modes: Switch Independent · Static · LACP | Load Balance: Address Hash · Dynamic · Hyper-V Port
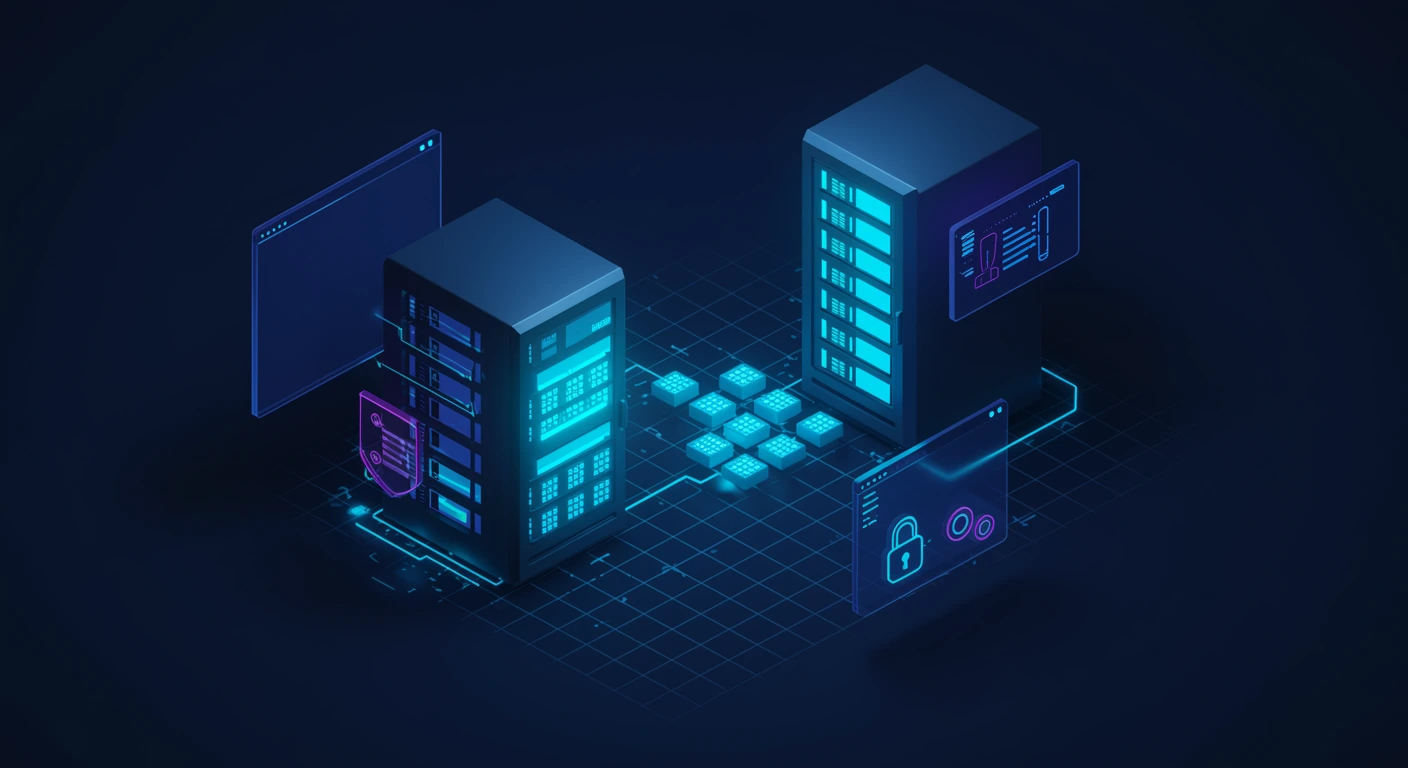
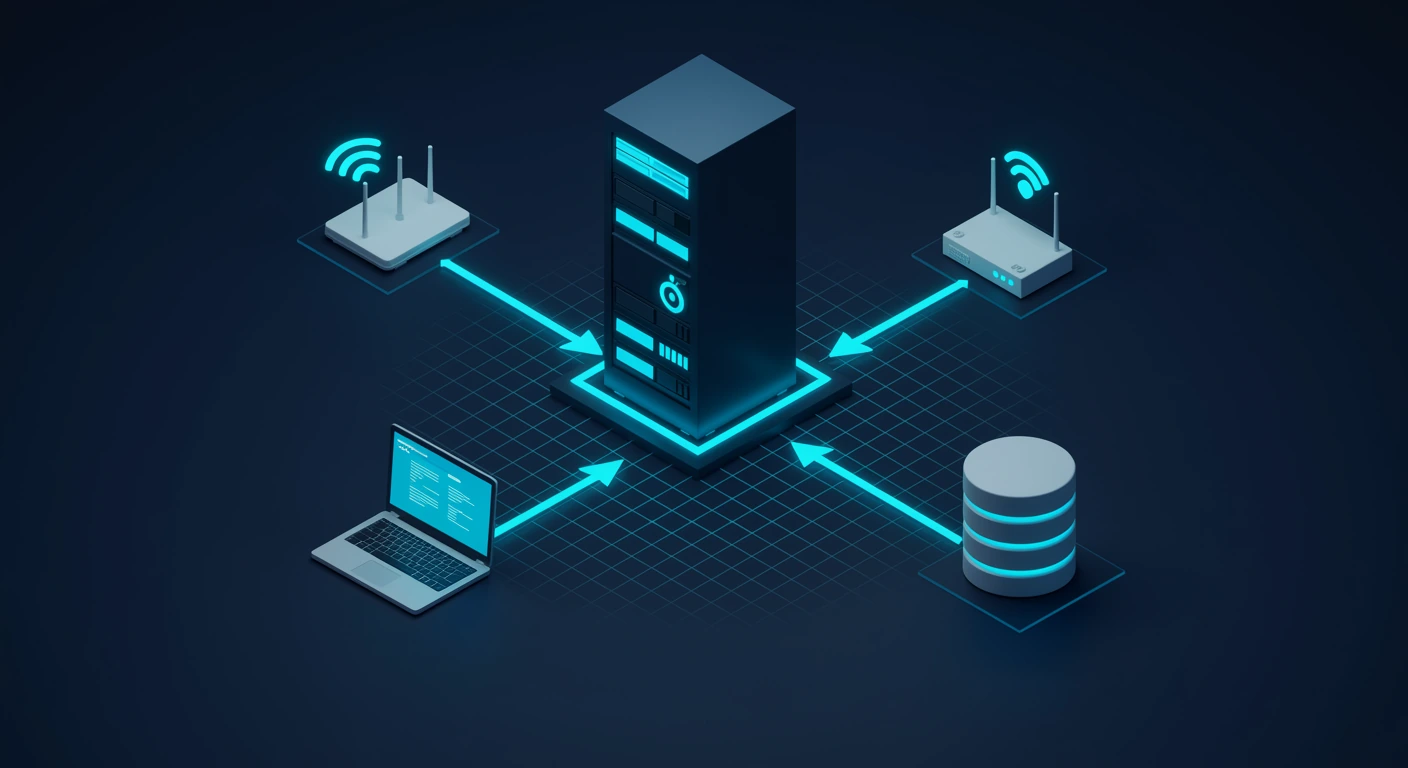
DHCP Failover
DHCP FailoverCTS1328C · AZ-800
Two servers, one shared scope. Hot Standby (active/passive) · Load Balance (active/active 50/50) · shared secret + MCLT
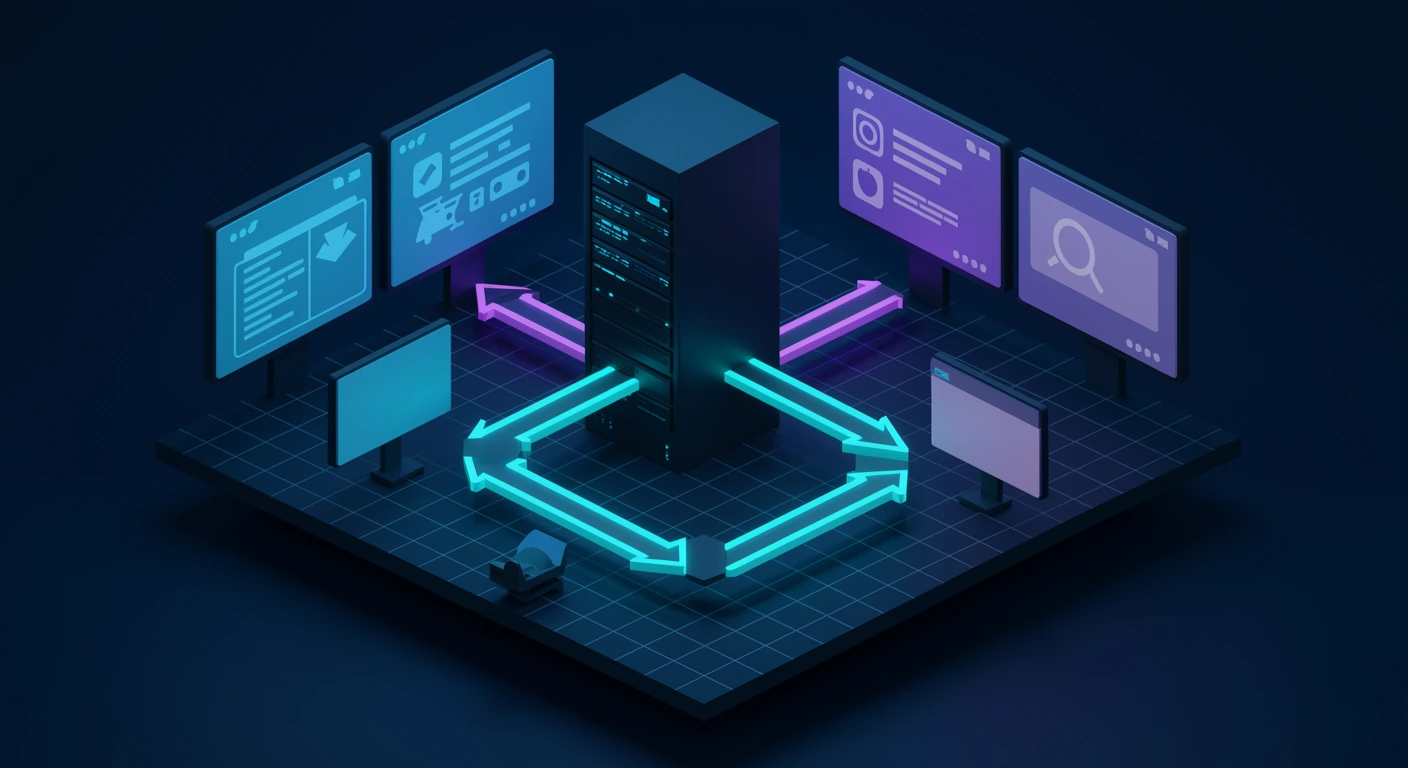
DNS Policies: Conditional Resolution
DNS PoliciesCTS1328C · AZ-800
Same query, different answers. Criteria: client subnet · query type · time of day · transport → zone scope via policy
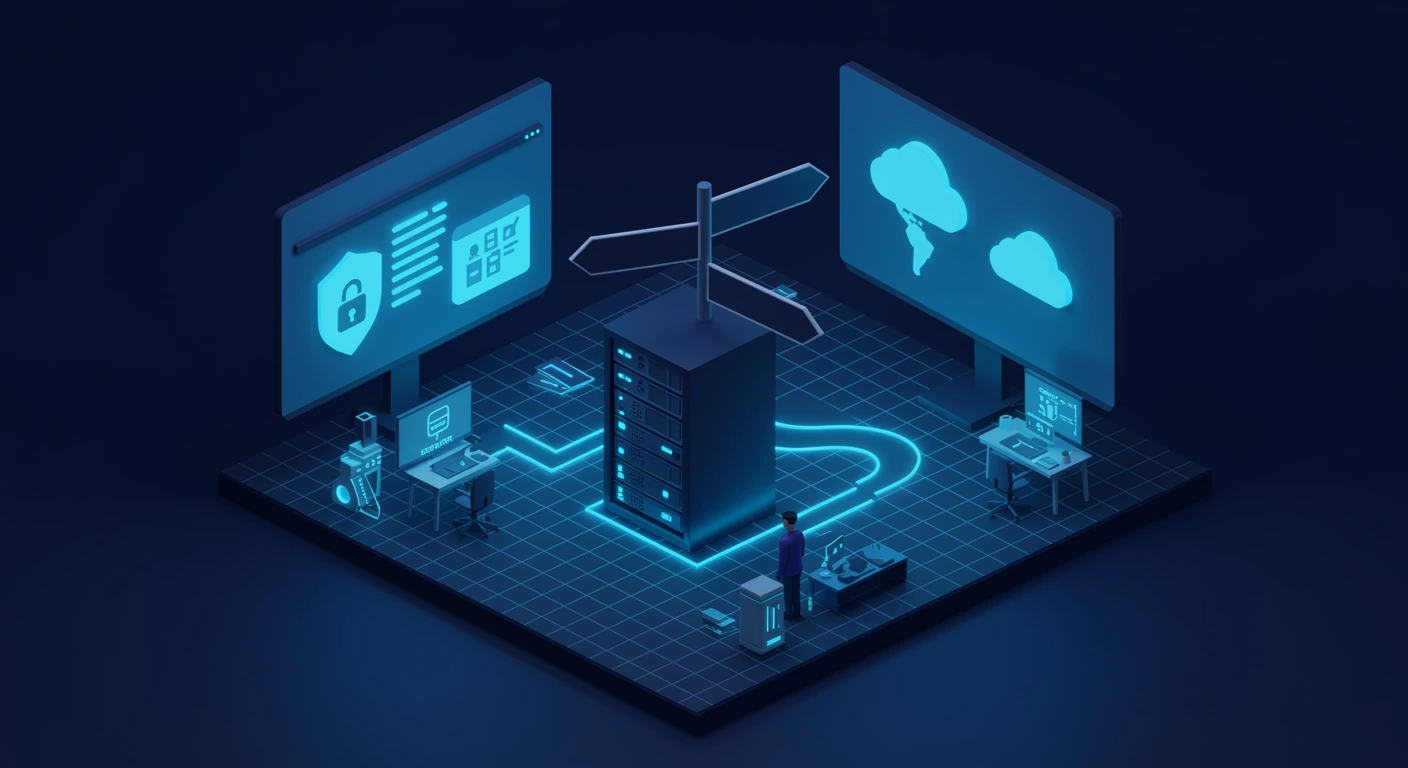
Split-Brain DNS
Split-Brain DNSCTS1328C · AZ-800
One name, two answers. Internal clients → private IP · external clients → public IP · built from zone scopes + policies
DNSSEC: Signed Zones and Chain of Trust

DNSSECCTS1328C · AZ-800
Signed zones, chain of trust. RRSIG · DNSKEY · DS · KSK/ZSK · NSEC3 → stops cache poisoning
IPAM: Centralized IP Address Management

IPAMCTS1328C · AZ-800
One console for IP, DHCP, DNS. Server + database (WID/SQL) · discover · GPO provisioning · utilization + audit
Network Policy Server (NPS / RADIUS)
NPS / RADIUSCTS1328C · AZ-800
Central AAA. VPN · Wi-Fi 802.1X · wired · RADIUS proxy | clients + connection/network policies + accounting
VPN Types: Choosing a Protocol
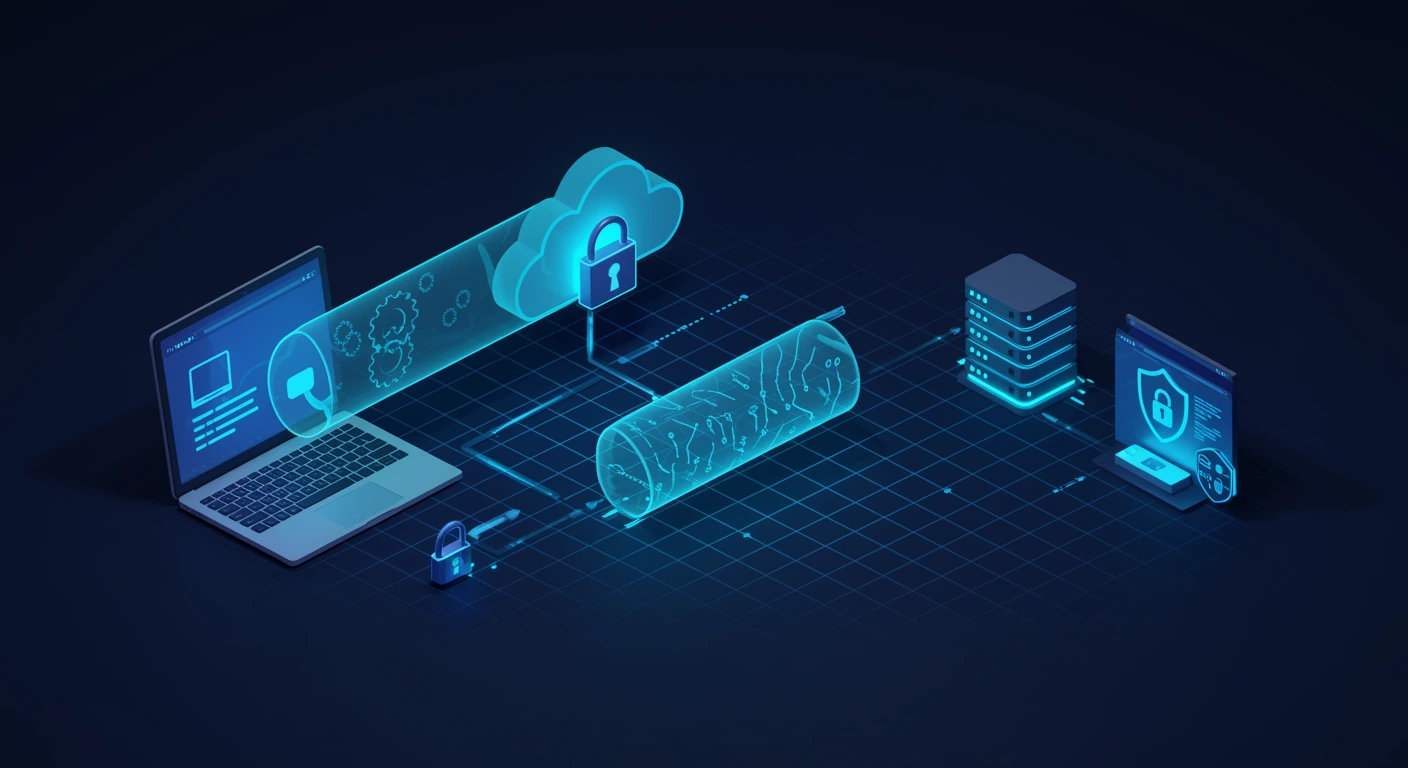
VPN TypesCTS1328C · AZ-800
Encrypted remote tunnel. IKEv2 (mobile reconnect) · SSTP (443, firewall-friendly) · L2TP/IPsec (legacy) · PPTP (avoid)
DirectAccess: Always-On Remote Access
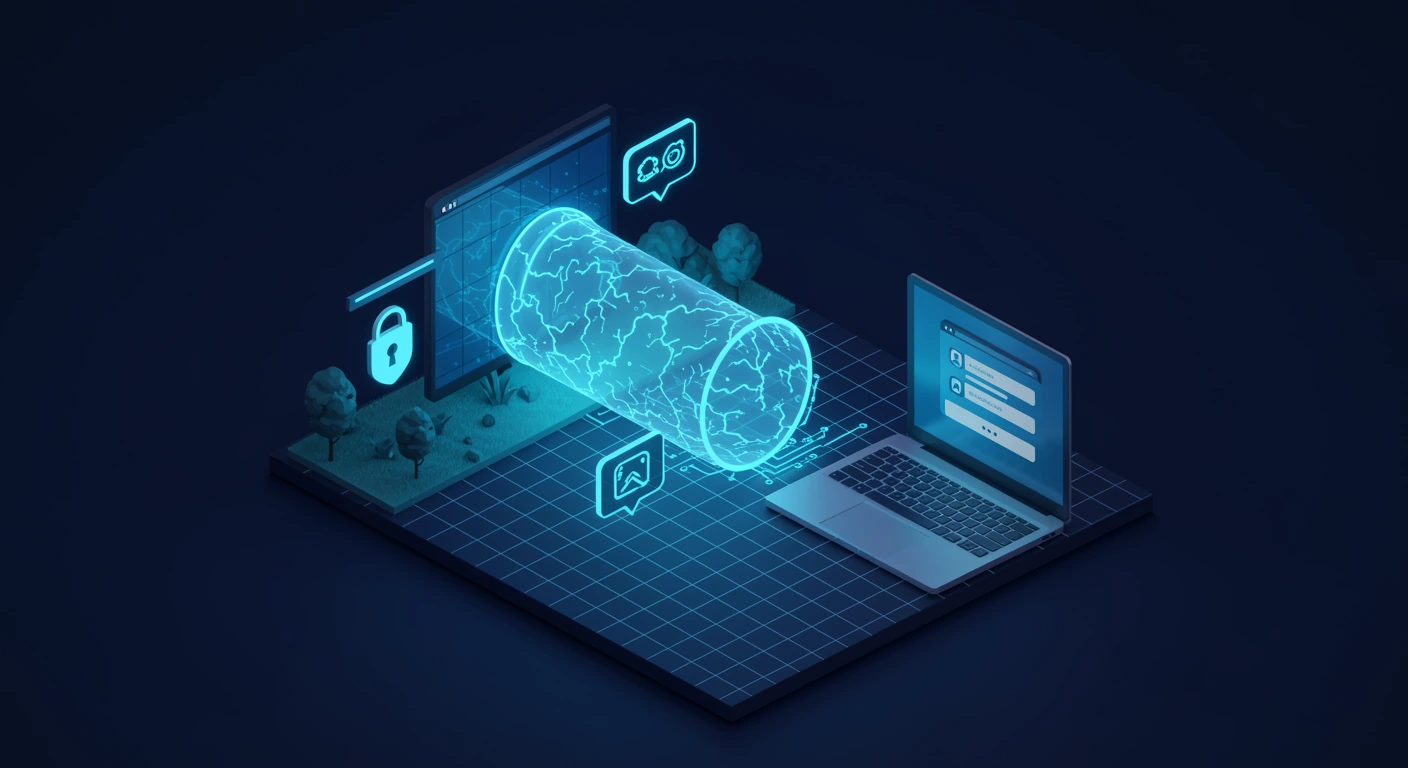
DirectAccessCTS1328C · AZ-800
Always-on auto-connect. IPv6 + IP-HTTPS · machine certs · needs PKI + Enterprise clients → succeeded by Always On VPN
BranchCache: WAN Bandwidth Optimization

BranchCacheCTS1328C · AZ-800
WAN savings for branches. Distributed (P2P) vs Hosted · SMB / HTTP / BITS · first pull over WAN, then local · hash-validated
VLANs and Network Isolation
VLANs & IsolationCTS1328C · AZ-800
802.1Q segmentation. Security isolation · broadcast containment · QoS · multi-tenancy | access vs trunk ports
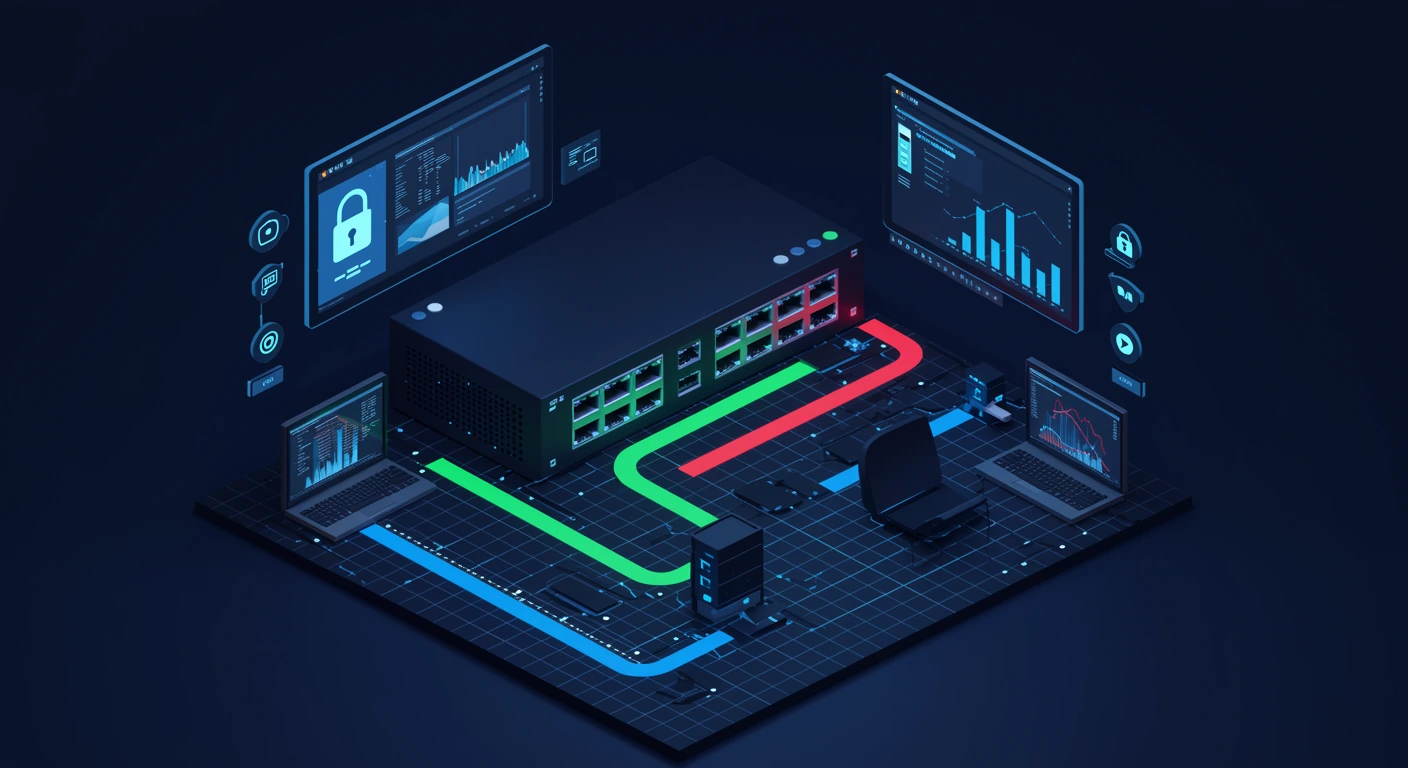
Software Defined Networking (SDN)

Software Defined NetworkingCTS1328C · AZ-800
Central control plane. Network Controller · SLB · RAS Gateway · Datacenter Firewall → automation + micro-segmentation
Network Virtualization (HNV)
Network Virtualization (HNV)CTS1328C · AZ-800
Overlay on the physical fabric. CA (virtual) vs PA (physical) · VXLAN / NVGRE encap · multi-tenant, no VLAN sprawl
Windows Defender Firewall with Advanced Security
Windows FirewallCTS1328C · AZ-800
Per-host packet filter. Inbound · Outbound · Connection Security (IPsec) | profiles: Domain / Private / Public · default-deny inbound
IPsec: Authenticated, Encrypted Traffic
IPsecCTS1328C · AZ-800
Authenticate + encrypt at the IP layer. Transport (payload, host-to-host) vs Tunnel (whole packet, site-to-site) · auth: Kerberos / certs / PSK
Quality of Service (QoS)
Quality of ServiceCTS1328C · AZ-800
Prioritize + throttle. DSCP marking (VoIP = 46) · throttle rate · application-based + port-based · applied via GPO
Network Address Translation (NAT)
NATCTS1328C · AZ-800
Rewrite addresses at the boundary. SNAT (out) · DNAT (port-forward) · static 1:1 · dynamic pool → private to internet, lab + containers
Network Diagnostics

Network DiagnosticsCTS1328C · AZ-800
Work the layers in order. Test-NetConnection · Get-NetTCPConnection · Get-NetRoute · netsh trace · perf counters
Lab Preview: What You Will Practice
Lab PreviewCTS1328C · AZ-800
Same build, two surfaces. GUI consoles + PowerShell · NIC team · failover · DNS · firewall · IPsec · QoS