Module 05: Containers and Nano Server
Ship less OS, run more app. The modern packaging unit for Windows Server workloads.
What you'll learn
- Containers vs VMs, kernel-sharing vs full-OS isolation
- Isolation modes, Process vs Hyper-V, speed vs security tradeoff
- Base images, Nano Server, Server Core, full Windows
- Networking + Storage, NAT/Transparent/Overlay; volumes + layers
- Registries, Docker Hub, mcr.microsoft.com, ACR
- Dockerfile ★, the recipe every modern deploy ships
Containers vs Virtual Machines
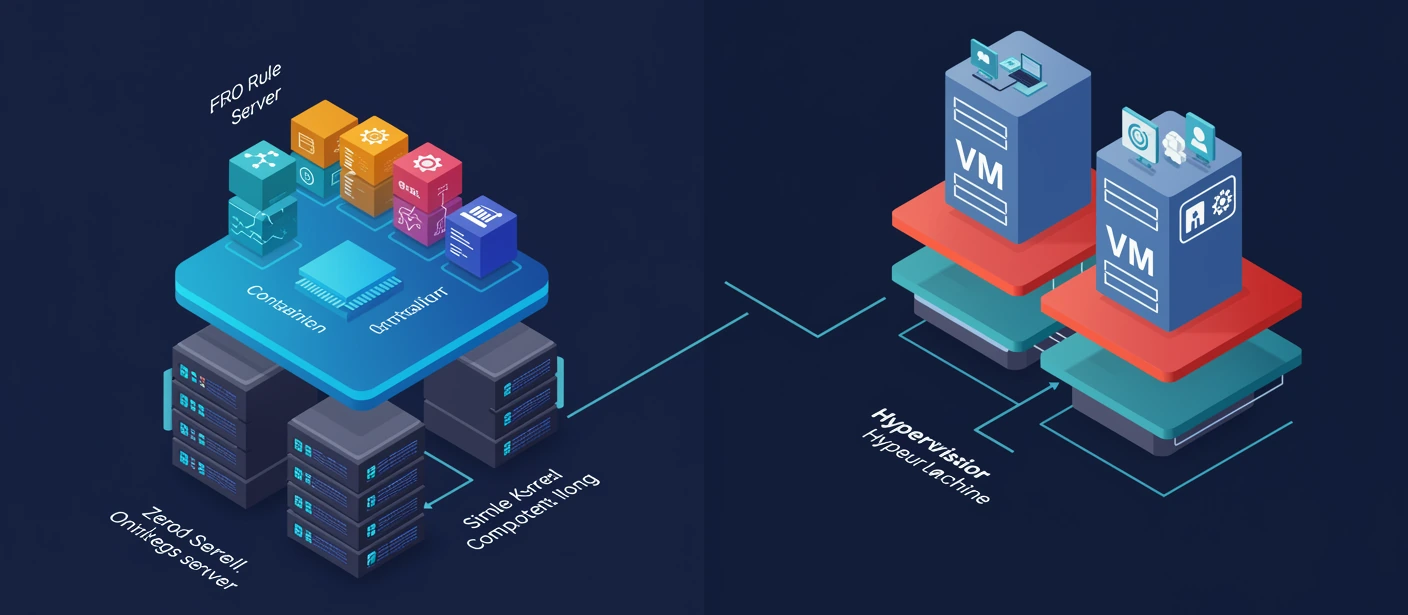
Both VMs and containers isolate workloads from each other and from the host. They isolate at DIFFERENT layers, and the difference determines everything: density, startup time, isolation strength, attack surface, and which workloads each is right for.
Virtual Machine. A complete guest OS running on a hypervisor. Each VM ships its own kernel, its own userland, its own services. The hypervisor enforces hardware-level isolation: VMs cannot read each other's memory, cannot share kernel data structures, cannot accidentally affect each other. Size: gigabytes per VM. Startup: minutes (BIOS/UEFI POST, kernel boot, services start). Density: tens per host before RAM exhaustion.
Container. A process (or a small group of processes) running on the HOST kernel, with isolation provided by kernel namespaces and control groups (cgroups). No guest OS, no second kernel. The container's filesystem is a layered image; the container's network namespace is its own; the container's process namespace is its own; but the kernel is shared. Size: tens to hundreds of MB. Startup: seconds. Density: hundreds per host.
The isolation tradeoff. Containers are FAST and DENSE because they share the kernel. They are also LESS ISOLATED because they share the kernel: a kernel bug can theoretically affect every container on the host. VMs are SLOW and HEAVY because they ship full OSes. They are also STRONGLY ISOLATED because they ship full OSes: a guest kernel bug stays inside that VM. For most workloads, container isolation is enough; for hostile multi-tenant or regulated workloads, VM isolation is the floor.
Picking the right tool. Containers: microservices, CI/CD build agents, ephemeral workloads, anything where "throw it away and recreate" is the default operational pattern. VMs: legacy apps that need a full OS, different OS families (Linux on Windows host, etc.), workloads that need hardware-level isolation, anything where the OS itself is part of the configuration.
You can mix. Containers running INSIDE a VM is a common pattern, especially in multi-tenant cloud platforms. VM-level isolation between tenants; container-level density inside each tenant's VM.
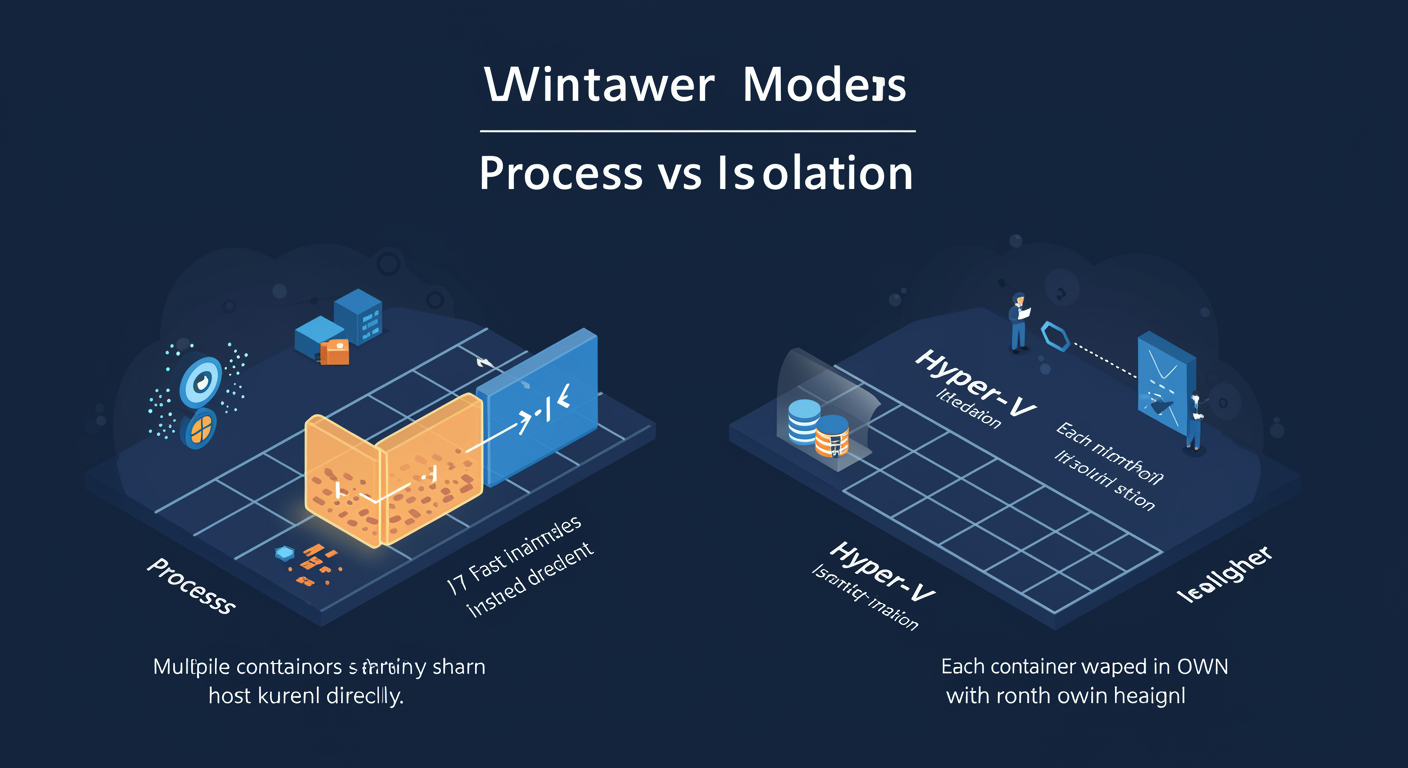
Windows Container Isolation Modes: Process vs Hyper-V
Windows offers TWO container isolation modes; you choose per container at run time. Most container platforms (Linux, Docker on Linux) have ONE mode. Windows gives you the choice because the same Docker image can run at either density or isolation depending on what you need.
Process Isolation. The classic container model. The container is a process group sharing the host's kernel directly. Isolation comes from Windows job objects, server silos, and namespaces. Density: high (hundreds per host). Startup: fast (seconds). Isolation: process-level. Required match: the container's base image OS version must match the host's OS version (a Server 2022 host can only run Server 2022 base images in Process mode).
Hyper-V Isolation. Each container runs inside its OWN small utility VM that has its own kernel. Isolation comes from Hyper-V hardware-enforced virtualization. Density: lower (still good, but each container has its own kernel overhead). Startup: slightly slower (the utility VM has to start, a fraction of a second). Isolation: hardware-level, equivalent to a VM. Required match: NONE, the utility VM can run a different OS version than the host (a Server 2022 host can run a Server 2019 image, or even a Linux container via WSL2).
The selector. --isolation=process for Process mode (Windows Server default on bare metal). --isolation=hyperv for Hyper-V mode (Windows 10/11 client default, since clients should not be running production server kernel-sharing). Without the flag, the platform default applies.
When to pick Process. Trusted workloads from a known publisher. High-density deployments where image count matters more than per-container security. CI/CD pipelines where containers are short-lived and trusted. Server-to-server scenarios.
When to pick Hyper-V. Multi-tenant scenarios (different customers' workloads on the same host). Untrusted images. Compliance-mandated isolation (PCI, HIPAA scenarios where VM-equivalent isolation is required for the data being processed). When you cannot match host OS version to image OS version.
Windows Container Base Images: Nano, Server Core, Windows
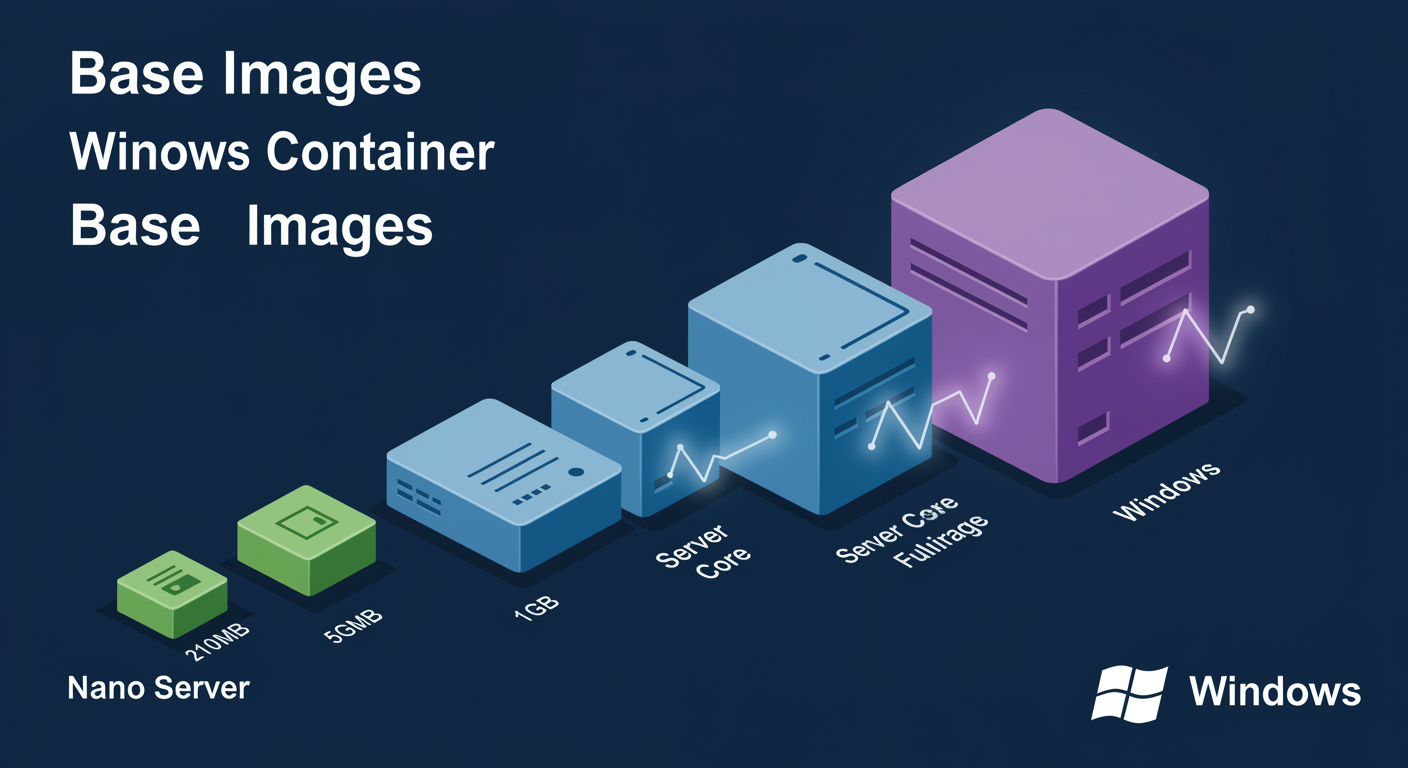
Every container starts from a BASE IMAGE: the snapshot of an OS that the container runs on top of. Microsoft publishes three Windows base images, each progressively larger and more capable. Picking the right one is the single biggest factor in your container's size, startup speed, and attack surface.
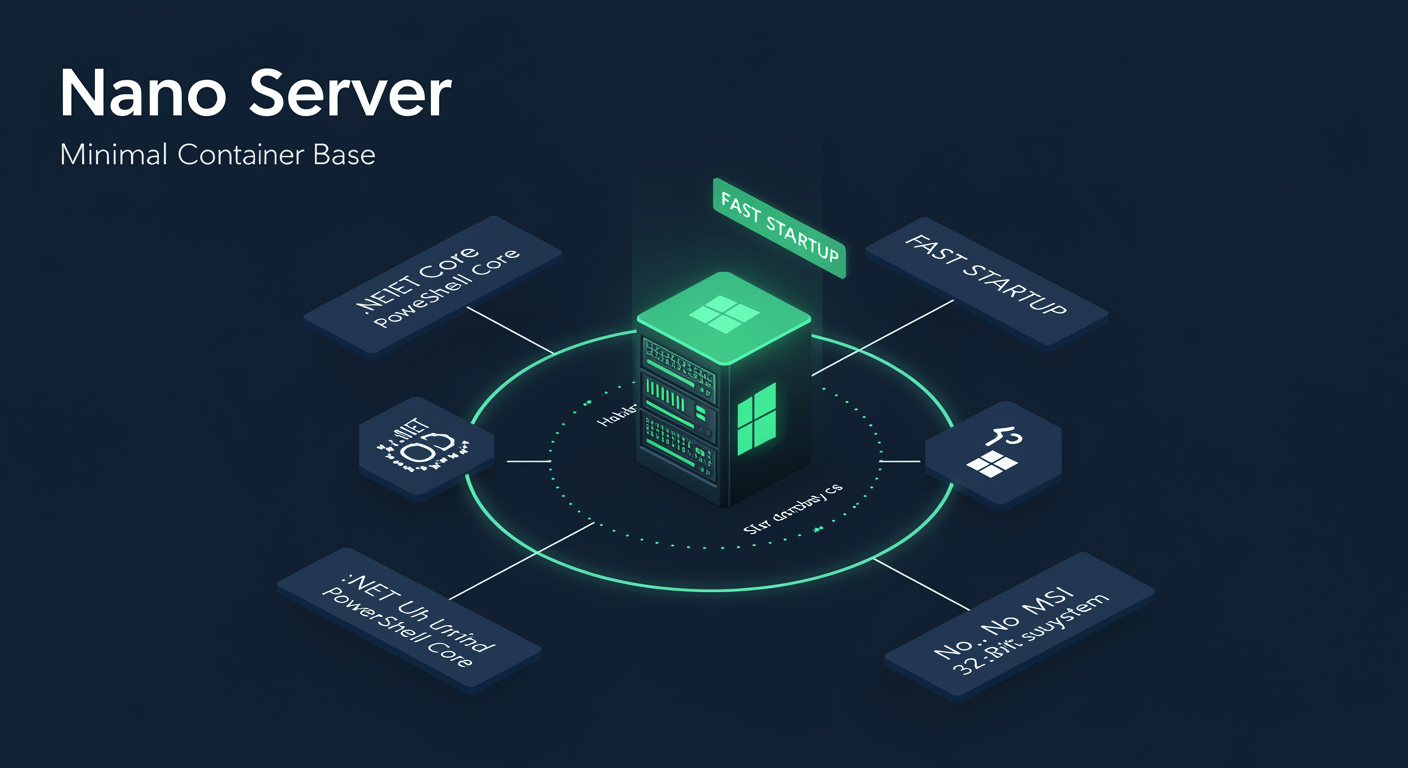
Nano Server (mcr.microsoft.com/windows/nanoserver). The minimal base. ~100 MB. Contains .NET Core runtime, PowerShell Core, the kernel, and almost nothing else. No GUI, no MSI installer, no 32-bit subsystem, no WMI, no PowerShell Full. Best for: modern .NET Core apps, Go/Node/Python apps, anything that does not need Windows-specific dependencies. Fastest startup, smallest footprint, smallest attack surface.
Server Core (mcr.microsoft.com/windows/servercore). The mid-tier base. ~1.5 GB. Includes the full Windows kernel, WMI, .NET Framework, full PowerShell, MSI installer support. Best for: .NET Framework apps (most legacy enterprise software), apps that need Windows roles like IIS, anything that needs full PowerShell. Larger than Nano but still dramatically smaller than full Windows.
Windows (mcr.microsoft.com/windows). The full Windows base. ~5 GB. Includes everything Server Core has plus additional Windows APIs and shell components. Best for: apps with deep Windows dependencies that Server Core does not satisfy (some legacy graphics-related APIs, some COM components). Rarely needed in practice; if your app needs the full Windows image, consider whether it should be a container at all.
The version pin. Each base image has a TAG corresponding to the Windows Server version: :ltsc2019, :ltsc2022, etc. Process Isolation requires the host's Windows Server version to MATCH the base image's tag. Hyper-V Isolation can mismatch (the utility VM provides the right kernel). Pin to a specific tag in production; :latest drifts in unpredictable ways.
Sizing the choice. Pick Nano Server when possible. Drop to Server Core when the app needs .NET Framework or full PowerShell. Drop to full Windows only when you have a documented dependency that smaller bases do not satisfy. Each step up costs disk, RAM, startup time, and attack surface.
Nano Server: The Minimal Container Base
Nano Server deserves its own slide because the WSA syllabus (CO #6) calls it out specifically: "Explain and demonstrate containers by implementing Nano Server image deployment." Knowing what Nano IS and what it is NOT is the exam topic.
Nano Server is container-only since Windows Server 2019. Originally (in WS2016) Nano was offered as both a host OS install option AND a container image. Starting in WS2019, Nano is ONLY available as a container image. You cannot install Nano on bare metal anymore. Pull it as a container, run it, dispose of it.
What Nano includes. Windows kernel, .NET Core runtime, PowerShell Core (not Windows PowerShell 5.1), WinRT, the basic shell. Enough to run a .NET Core or .NET 5+ application. Enough to run a Go binary, a Python interpreter, a Node.js runtime. Not enough to run .NET Framework apps, not enough to run apps that expect Windows roles, not enough to run anything that uses WMI.
What Nano excludes. No GUI. No MSI installer (cannot run msiexec to install software). No 32-bit subsystem (cannot run x86 binaries; only x64 binaries). No WMI. No Windows PowerShell 5.1 (just PowerShell Core, which is a different beast). No Windows Server roles like IIS, AD DS, etc. that depend on the missing pieces.
The size dividend. ~100 MB on disk. Cold startup in well under a second. RAM footprint negligible at idle. This is what makes Nano the "ship more app, less OS" choice: when the OS overhead approaches zero, you can fit far more app instances on the same hardware.
The use case shape. Modern .NET Core microservice. Go HTTP service. Python data processing job. Node.js function. Anything where the entire app is one or two binaries that need only a kernel and a runtime. Not the right answer for IIS-hosted ASP.NET Framework, not the right answer for SQL Server, not the right answer for anything that says "requires PowerShell module X" where X is a Windows-specific module.
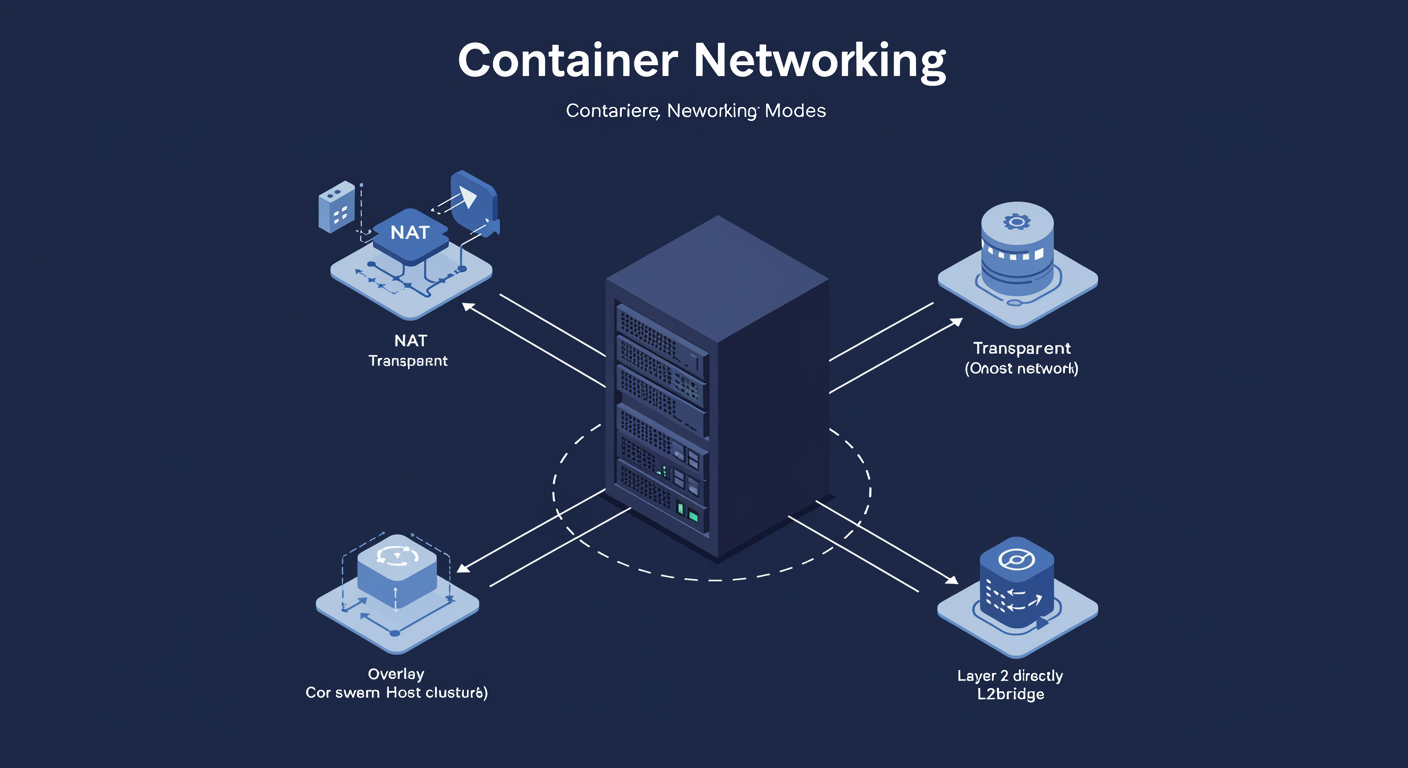
Container Networking: NAT, Transparent, Overlay, L2bridge
By default, containers cannot talk to anything. Networking is opt-in: when you create a container, you attach it to a Docker network. The network's MODE determines how the container sees the rest of the world, what IP it gets, and whether external clients can reach it.
NAT (default on Windows). Docker creates a private virtual network (typically 172.x.x.x). Containers get IPs on that private network. The host serves as the NAT gateway: containers can reach the outside world via the host's IP, but the outside world cannot reach containers without explicit port mapping. Use -p 8080:80 to publish container port 80 on host port 8080. Default for development and single-host production.
Transparent. Containers attach directly to the host's physical network. Each container gets an IP on the SAME subnet as the host (via DHCP from your network's DHCP server, or static). Containers are first-class network citizens, no NAT involved. Use when containers need to be reachable from external systems without port mapping, or when traffic shaping/inspection requires real IPs.
Overlay. For multi-host clusters (Docker Swarm, Kubernetes). Creates a virtual network that spans multiple hosts; containers on Host A can talk to containers on Host B as if they were on the same LAN. Encrypted overlay traffic between hosts. Use when you have a container orchestrator and need east-west traffic between containers running on different physical hosts.
L2bridge. Similar to Transparent but Layer 2 bridging instead of routing. Container IPs are on the host's subnet. Mostly used in specialized network setups and Kubernetes deployments on Windows.
Port mapping. -p host_port:container_port publishes a container's listening port on a host port. -p 80:80 binds host 80 to container 80 (one-to-one). -p 8080:80 binds host 8080 to container 80 (reroute). Required for clients OUTSIDE the host to reach NAT containers.
DNS inside containers. Docker provides built-in DNS resolution between containers on the same user-defined network. docker network create app-net, run two containers attached to app-net, they can resolve each other by container name. Critical for multi-container apps (web container talking to db container).
Container Storage: Layers, Volumes, Bind Mounts
Containers have a writable filesystem layer on top of the read-only image layers. That writable layer DIES when the container dies. For data that needs to survive container restarts, you mount external storage. Knowing which kind to use, and when, is the difference between "my container loses data on restart" and "my container is properly stateful."
The writable layer (ephemeral). Every container has one. Anything the container writes to its own filesystem (logs in C:\app\logs, temp files in %TEMP%) lives in this layer. When the container is removed (docker rm), the writable layer goes with it. This is the default behavior. For ephemeral data (request-scoped logs, temp files), it is correct; for persistent data, it is a bug.
Volumes (managed by Docker). Docker creates and manages a storage location on the host (under C:\ProgramData\docker\volumes\ by default). The container mounts the volume at a target path; reads and writes go to the host-managed location. The volume SURVIVES container removal. Use volumes for production-grade persistent state: database files, user uploads, application data that should outlive any single container instance.
Bind mounts (admin-managed). The administrator specifies a host path; Docker mounts it into the container at the target path. The host directory must exist; the container has full access. Use bind mounts for: development (mount a source code folder into the container so edits hot-reload), legacy data integration (the container reads from a UNC path or shared folder), debugging (inspect the host filesystem from inside the container).
Volumes vs bind mounts. Volumes are portable: Docker manages the lifecycle, you can back them up via docker volume commands, they work the same on any host. Bind mounts are tied to a specific host path: not portable across hosts, but offer flexibility when you need to control exactly where data lives. Production: prefer volumes. Development: bind mounts are convenient.
Image layers. Below the writable layer, every container is a stack of READ-ONLY image layers. When you pull mcr.microsoft.com/windows/servercore:ltsc2022, you get the base image as a set of layers. Building a custom image ADDS layers; the original layers are shared across containers (de-duplicated on disk). Layer sharing is what makes pulling a "5 GB image" actually take 50 MB if the other 4.95 GB is the base image you already have cached.
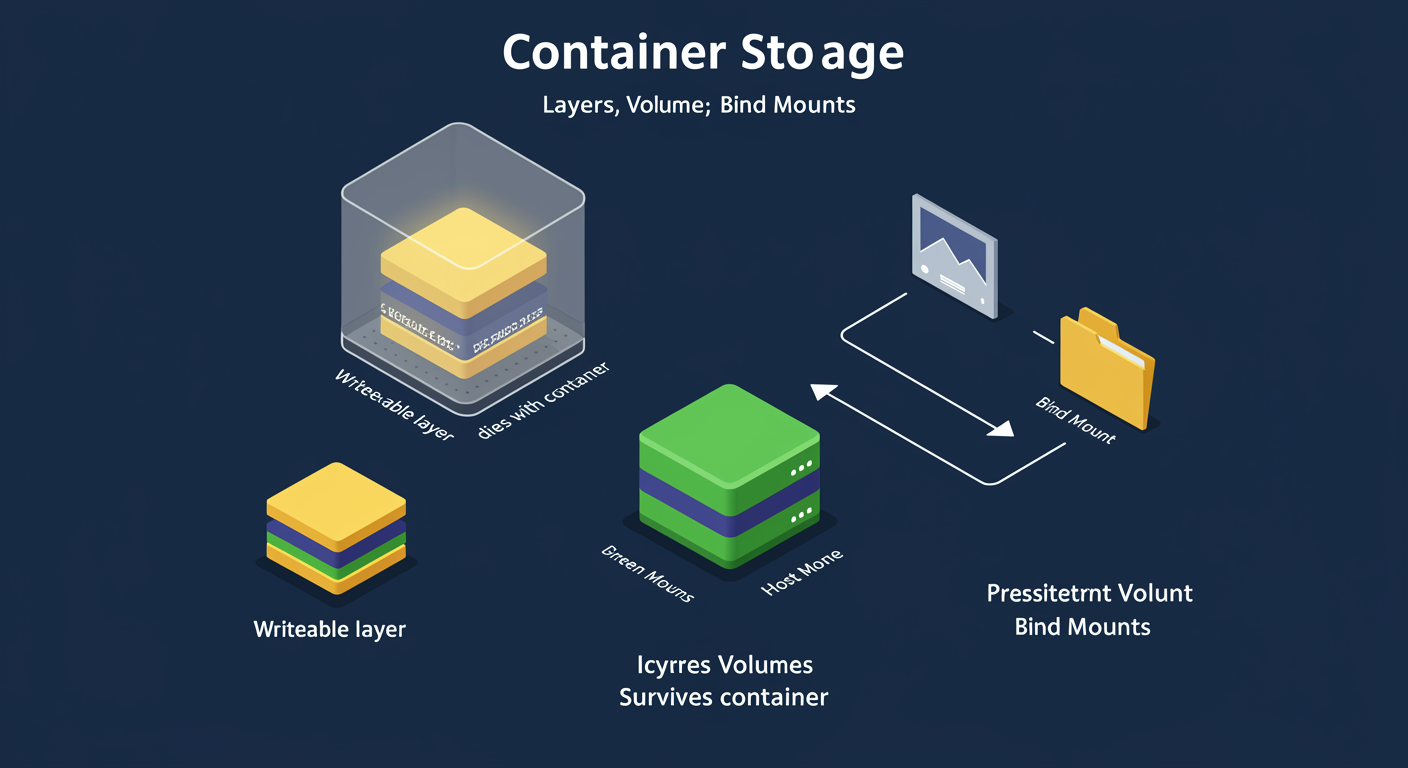
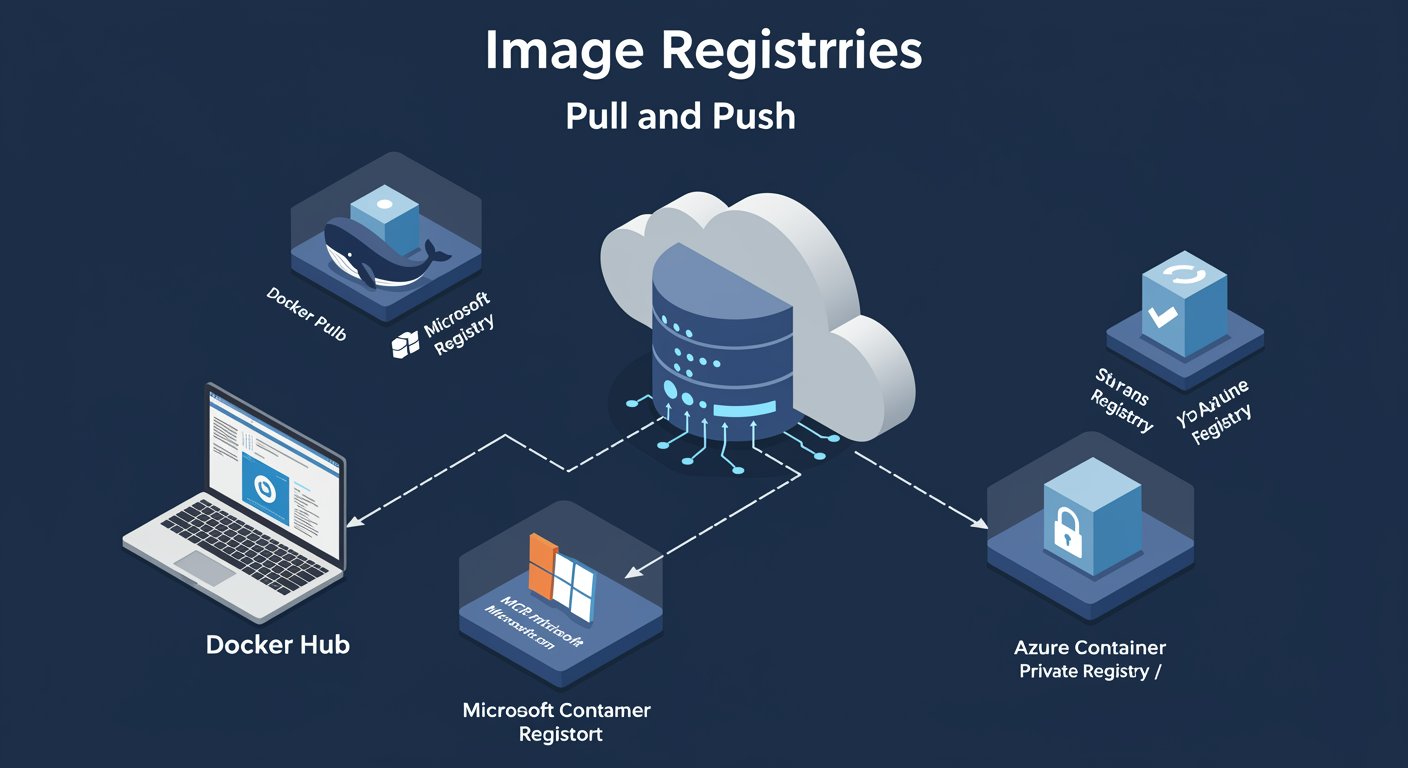
Image Registries: Where Images Live
Container images live in REGISTRIES. A registry is a service that stores tagged images, accepts docker push, serves docker pull. Every container deployment starts with a pull from a registry; every CI/CD pipeline ends with a push to a registry. Choosing the right registry is part of the operational architecture.
Docker Hub (docker.io). The default. Hosts millions of public images. Anonymous pulls work (rate-limited). Authentication required for pushes and for private images. Best for: open-source images, base images from major projects, anything where the image is meant to be public.
Microsoft Container Registry (mcr.microsoft.com). Microsoft's first-party registry. Hosts Microsoft-published images (Windows base images, .NET runtimes, SQL Server containers, Azure SDK containers). Always pull Microsoft images from MCR directly; do not pull rehosted copies from Docker Hub.
Azure Container Registry (ACR). Microsoft's managed private registry. Per-customer instance. Backed by Azure Storage; geo-replication available. Integrates with Azure RBAC for access control, Azure Defender for image scanning, Azure DevOps and GitHub Actions for CI/CD push. Use ACR for: your company's private images, build artifacts, anything you do not want public.
Self-hosted (Docker Registry, Harbor, JFrog Artifactory). On-premises registry options. Run your own registry server, control your own data, run inside your own network. Use when: regulatory requirements prevent cloud storage, air-gapped environments, organizational preference for self-managed infrastructure. Harbor adds policy enforcement and vulnerability scanning on top of the basic Docker Registry.
Authentication and access. docker login REGISTRY -u USER -p PASSWORD caches credentials in %USERPROFILE%\.docker\config.json. From then on, push and pull commands automatically authenticate to that registry. For ACR, use az acr login -n REGISTRYNAME which uses your Azure credentials.
Image naming and tagging. Full image name: REGISTRY/NAMESPACE/REPO:TAG. Examples: mcr.microsoft.com/windows/servercore:ltsc2022, myregistry.azurecr.io/myapp:1.0.3. The TAG is what version-pins; :latest is convenience but drifts. Production should pin to specific tags (often a commit hash or semver) for reproducibility.
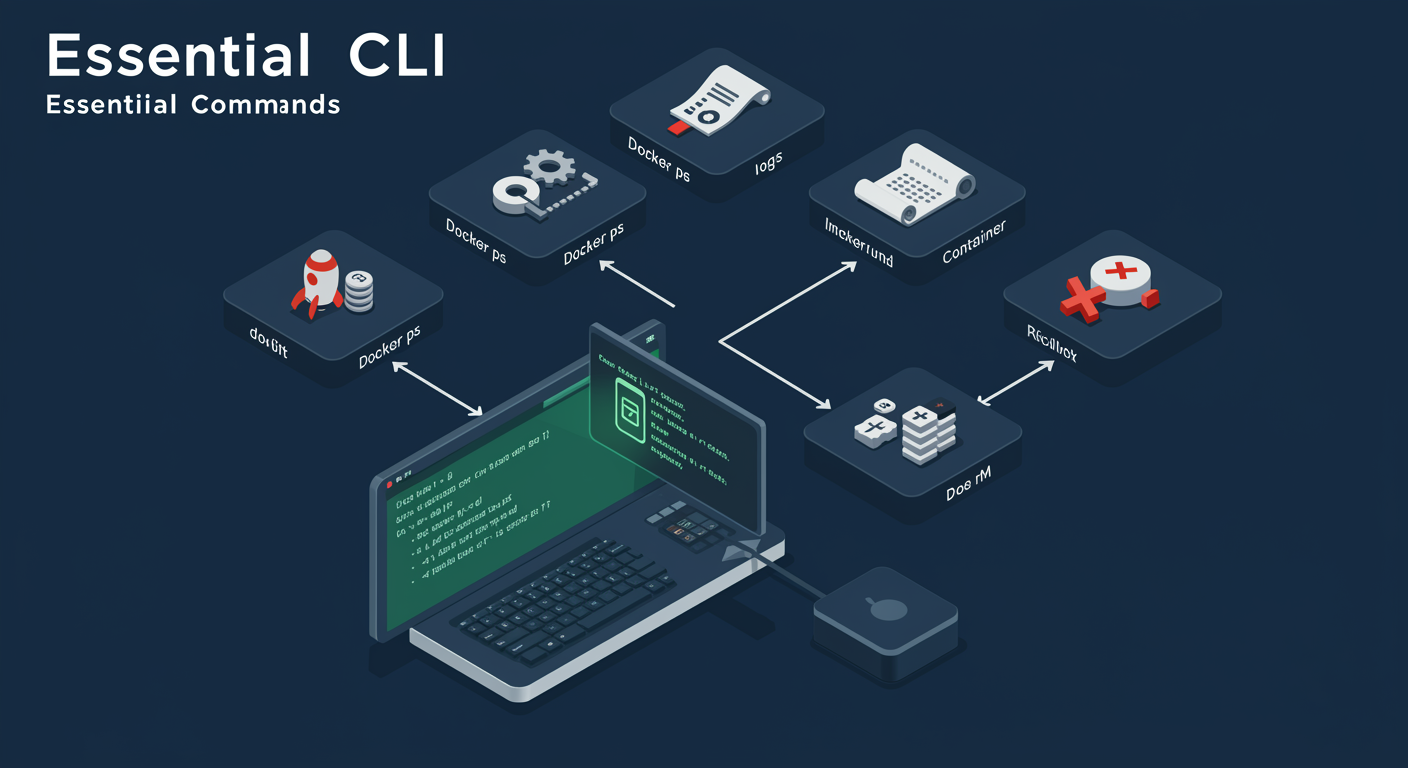
Essential Docker Commands: run, ps, exec, logs, images, rm
Six Docker commands cover 90% of daily operations. Master these and the rest of the CLI surface is variations on the same patterns. Memorize the flags; you will type them daily.
docker run creates and starts a container from an image. Flags you will use constantly: -d detached (run in background), --name assigns a name (otherwise Docker invents one), -p HOST:CONTAINER publishes a port, -v VOLUME:PATH mounts a volume, -e KEY=VALUE sets an environment variable, --rm auto-removes the container when it exits.
docker ps lists running containers. docker ps -a shows ALL containers including stopped ones. Columns: container ID, image, command, age, status, ports, name. The fastest way to confirm "is my container actually running."
docker exec runs a command INSIDE a running container. docker exec -it CONTAINER cmd.exe opens an interactive PowerShell or cmd inside the container. Used for: debugging, inspecting running state, manual fixes. Note that exec's effects are LOST when the container is recreated; for permanent changes, edit the Dockerfile and rebuild.
docker logs shows what the container has written to stdout and stderr. docker logs CONTAINER dumps everything; docker logs -f CONTAINER follows new output as it arrives (like tail -f); docker logs --tail 100 CONTAINER shows the last 100 lines. First stop when "the container is running but not doing what I expect."
docker images lists local images. Columns: repository, tag, image ID, age, size. docker rmi IMAGE removes an image (can fail if a container is using it). docker image prune cleans up dangling images (untagged, no container references).
docker rm removes a stopped container. docker rm -f CONTAINER force-removes a running container (kills it first). docker container prune removes all stopped containers in one shot. Disk fills quickly with abandoned containers in development; prune regularly.
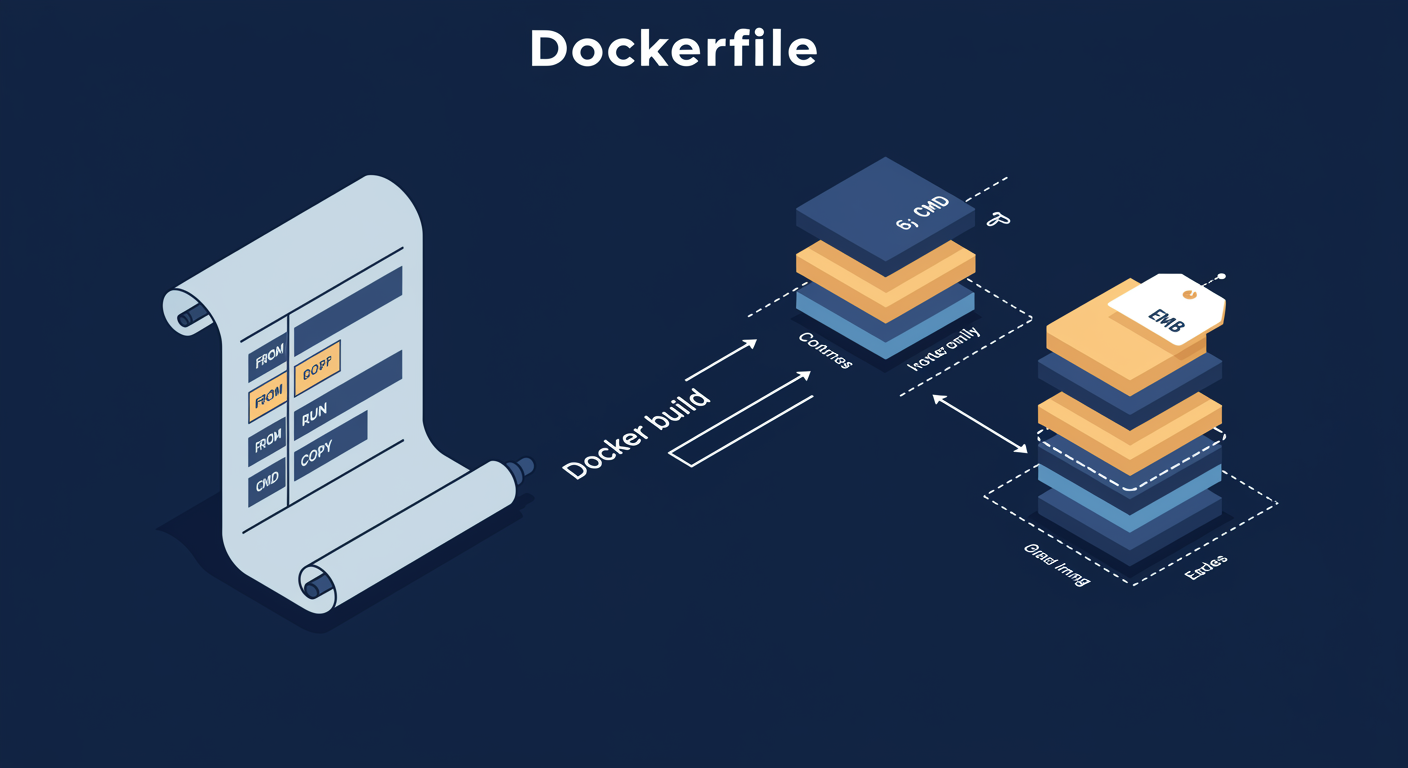
Dockerfile: The Recipe That Builds Your Image
A Dockerfile is a plain-text recipe that docker build follows to create a custom image. Every line in a Dockerfile becomes a LAYER in the resulting image. Understanding how layers work, and how the build cache uses them, is what turns a 10-minute build into a 10-second build.
The instructions you will use most. FROM image:tag: the base image to build on (always the first line). RUN command: execute a command at build time (install software, copy files, set up directories). COPY src dest: copy files from the build context into the image. ENV KEY=VALUE: set environment variables. WORKDIR /path: set the working directory for subsequent instructions. EXPOSE port: document which port the container listens on (informational; does not actually publish). CMD ["binary","arg1"]: the command that runs when the container starts.
Layer caching. Each instruction creates a layer; Docker caches each layer. On rebuild, if a layer's instruction and inputs are unchanged, the cached layer is reused. The cache invalidates when ANY input to a layer changes; from that layer onward, everything rebuilds. This is why you order instructions from "rarely changes" at the top to "changes constantly" at the bottom: keep the cache warm for as much of the build as possible.
The classic mistake. Putting COPY . /app early in the Dockerfile invalidates every layer below it on every source code change. Better pattern: copy ONLY the dependency manifests first (COPY package.json /app/), install dependencies in the next layer (RUN npm install), THEN copy the rest of the source code. Now a source code edit only invalidates the last few layers, not the heavy npm install layer.
Multi-stage builds. A single Dockerfile can have multiple FROM stages. Stage 1 builds the app (heavy SDK image with compilers and tools). Stage 2 copies the BUILT ARTIFACT from stage 1 into a clean runtime image (lightweight Nano Server with just the runtime). Result: a small production image without any of the build tooling. Universally recommended for compiled apps.
The build command. docker build -t myapp:1.0 . builds the Dockerfile in the current directory, tags the result as myapp:1.0. The dot is the BUILD CONTEXT: everything in that directory is sent to the Docker daemon and available for COPY instructions. A .dockerignore file excludes paths from the build context (do not ship .git, node_modules, build caches).
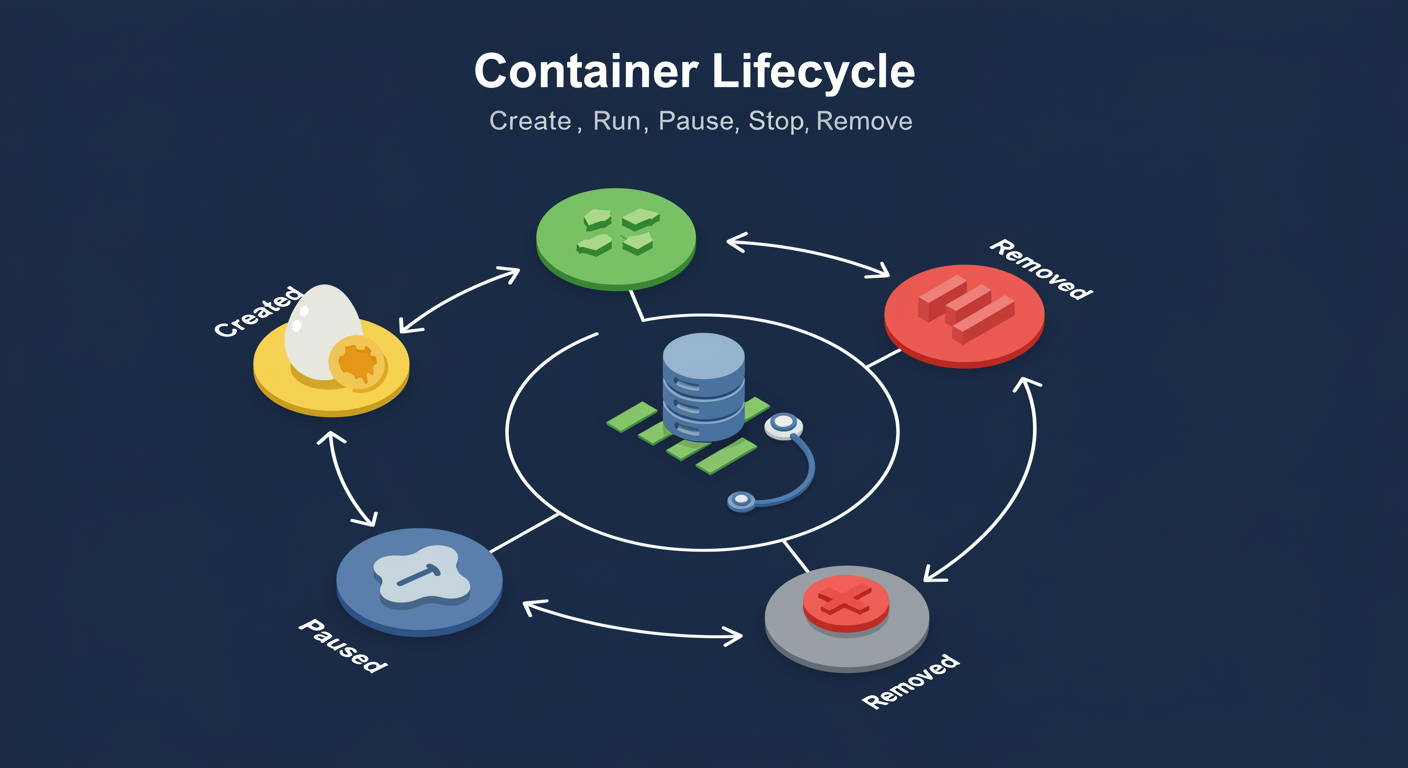
Container Lifecycle: Run, Pause, Stop, Remove, Healthcheck
Containers are not "running" or "stopped" as a single switch. They move through a small state machine: created, running, paused, stopped, removed. Knowing each state, what triggers transitions, and how to recover, is operational fluency.
Created. docker create makes a container without starting it. Filesystems are prepared, networks configured, but no process is running. Rare in interactive use; common in orchestration tooling that creates containers in batches before starting them.
Running. The PID 1 process is alive. docker run creates and starts in one step; docker start CONTAINER starts a stopped container. The container's main process exits = the container exits.
Paused. docker pause CONTAINER sends SIGSTOP equivalent. The container's processes are frozen in place: memory state preserved, CPU not used, network not received. docker unpause CONTAINER resumes. Useful for: load balancing experiments, taking a snapshot of a running container's memory state, brief throttling during incidents.
Stopped. docker stop CONTAINER sends SIGTERM, then SIGKILL after a grace period (default 10 seconds). Allows in-flight requests to drain. docker kill CONTAINER sends SIGKILL immediately, no grace. Stopped containers retain their writable layer and configuration; docker start brings them back.
Removed. docker rm CONTAINER deletes a stopped container. Writable layer is freed (any data NOT in a volume is gone). docker rm -f CONTAINER stops and removes in one step. Once removed, the container is gone; a new docker run creates a fresh container from the image.
Restart policies. Pass --restart POLICY at run time. no (default): never restart. on-failure: restart if the container exits with non-zero status (useful for fault tolerance). always: restart whenever the container stops, including after host reboot. unless-stopped: restart always, but NOT if the operator explicitly stopped it. Most production containers run with --restart unless-stopped for resilience without overriding manual operator intent.
Healthcheck. Define a periodic command in the Dockerfile (HEALTHCHECK CMD curl -f http://localhost/ || exit 1) that the container runtime executes. The container is marked HEALTHY or UNHEALTHY based on results. Orchestrators (Swarm, Kubernetes) use healthcheck status to decide when to route traffic to a container or restart it.
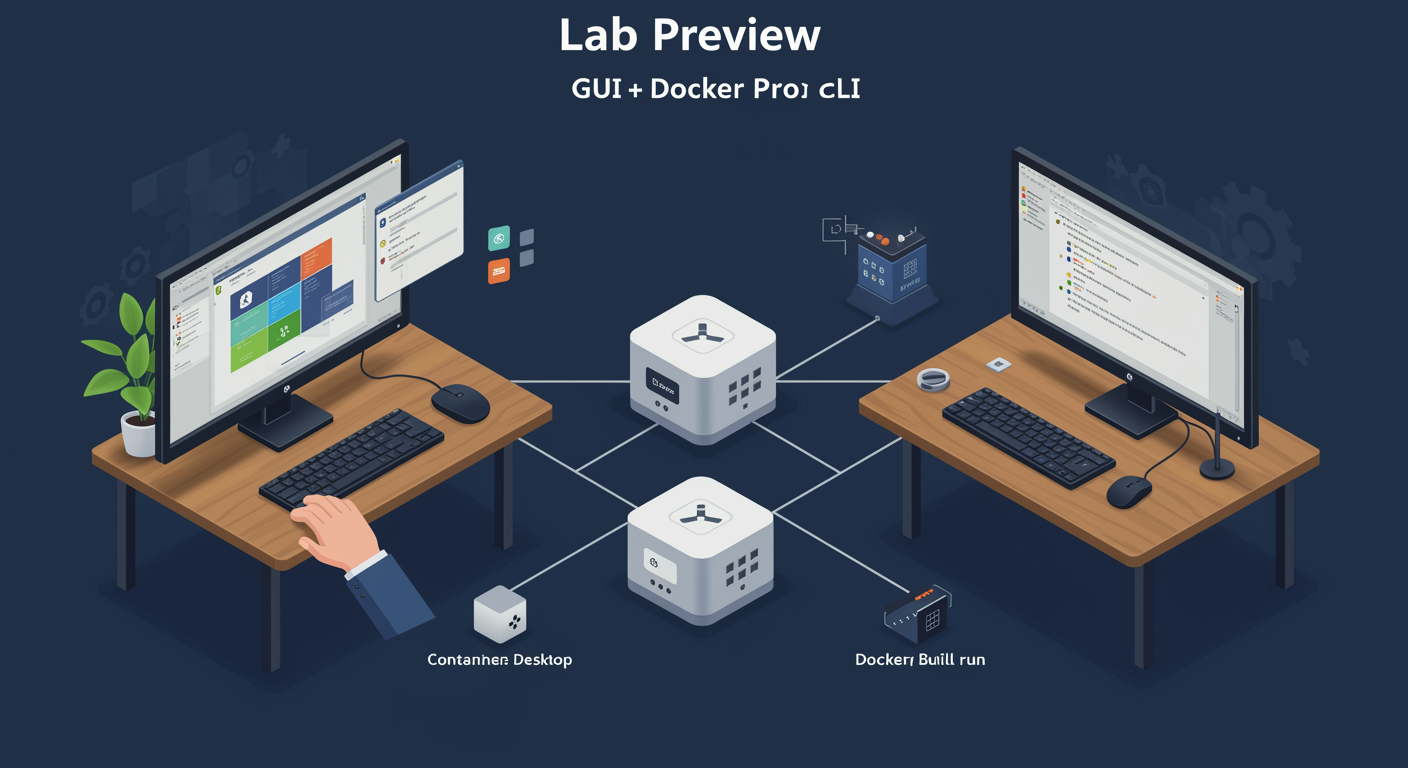
Lab Preview: What You Will Practice
The module ends with two hands-on labs covering the same container workflow from two complementary angles, so you build muscle memory in both surfaces.
Lab 1, Docker Desktop and IIS Container (Graphical). First-time exposure to running and managing containers through Docker Desktop's GUI plus the Docker CLI on Windows Server. You will:
- Install the Containers feature and Docker engine on Windows Server
- Pull the Server Core IIS image (
mcr.microsoft.com/windows/servercore/iis) - Run the IIS container with port 80 published, browse to the default IIS page
- Pull and run Nano Server, compare the size and startup speed against Server Core
- Create a custom Docker network in NAT mode and attach two containers
- Mount a volume and a bind mount; verify data persistence across container restart
Lab 2, Dockerfile + Custom Image Build (PowerShell). The pipeline you will use in every real deployment. You will:
- Author a multi-stage Dockerfile (build stage + runtime stage)
docker build -t myapp:1.0 .to produce the image; observe layer caching on second build- Use a
.dockerignoreto exclude irrelevant files from the build context docker tag+docker pushto a registry (Docker Hub or local registry)- Configure restart policy and healthcheck; demonstrate auto-restart on container crash
- Inspect container state, logs, and events; clean up containers and dangling images
Do both in sequence: GUI first builds the mental model, PowerShell second builds operational scale.